Although WordPress is relatively easy to use and thoroughly tested the software, errors occasionally occur. These errors can range from frustrating to damaging, depending on the complexity of the problem and the consequences of your website failing. Downtime can be expensive and should be kept to a minimum.
What is a WordPress error?
While the causes vary, the results are often similar. When an error occurs, your website will not load. Instead, you’ll see an error message or a blank, white screen. Since WordPress 5.2, WordPress has a built-in recovery mode to help troubleshoot errors and debug your site. Fixing these errors may seem intimidating at first, but there’s no need to panic. Most of these errors are caused by relatively minor issues that other users have experienced and are easy to fix.
What is a severe error of WordPress?
Now and then, you will see a fatal error in the popup message. It looks severe, as it might make it appear that the entire website has been shut down. However, you can quickly fix this error. A fatal error often happens after installing or updating a plugin or theme or adding new code.
When a fatal error occurs, the safest thing is to contact a technical expert. An expert can help you restore your website’s standard functionality without risking losing your content or experiencing extended downtime.
Our professional team of experienced WordPress developers can help you get your website back up and running in no time. Contact us if you need any assistance.
7 Common WordPress Errors
Now let’s look at one of the most common WordPress errors.
We’ve selected the following seven errors based on how common they are and how easy they can fix with a quick guide. You need to know how to change file permissions to fix these errors.
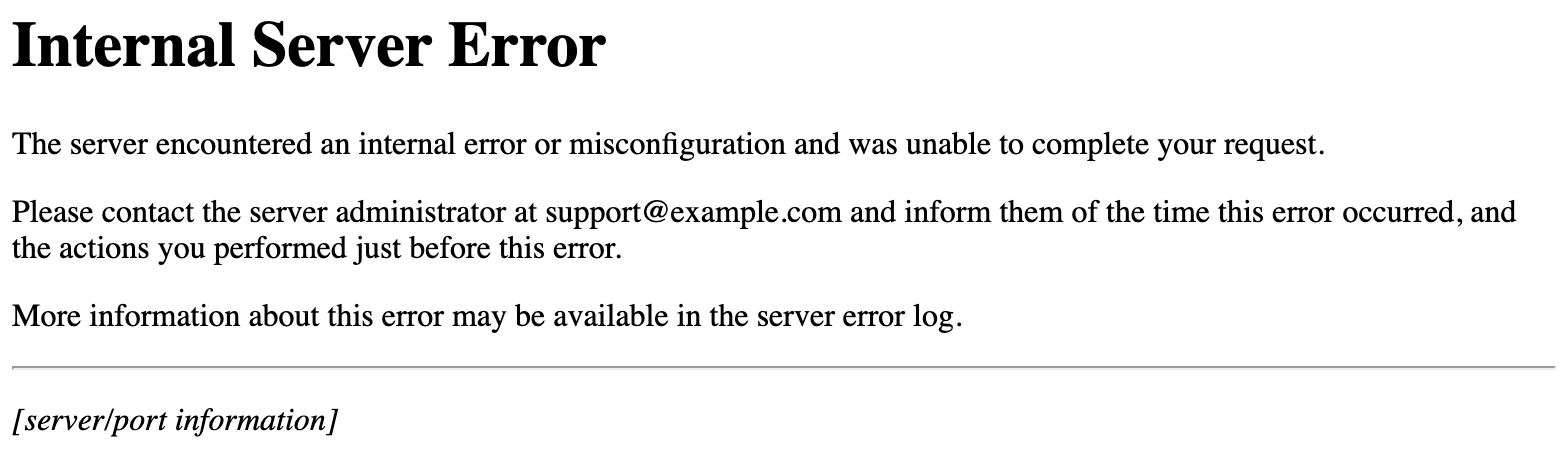
1. Internal server error
What is an internal server error?
This error indicates something is wrong, but the server cannot identify the underlying problem. Internal server errors are usually caused by one of two problems: the site’s memory limit has been reached or a problem with the site’s .htaccess file (or hypertext access file). This file resides on a web server and controls the higher-level configuration of a website.
To fix an internal web server error
Step 1: Disable the .htaccess data by simply renaming the file (for example, .htaccess_test). Reload the website to see if the website loads. If it does, mostly like to go “Settings” to reset your permalinks, which will create a new .htaccess data with the default WordPress htaccess rules. Note: Any customizations to your original .htaccess file will need to be added back or changed to work correctly.
Step 2: Disable your plugins to see if any of them is causing the problem. If you cannot access your WordPress dashboard, you can disable your plugins by renaming your plugins folder. Similarly you renamed your .htaccess file (e.g.,/plugins-test/).
Step 3: If the above measures don’t work, the last thing you can try is to increase your PHP memory limit. Usually, PHP limits will give a more specific error message like “Allowed memory size of 84892898 bytes exhausted”, but it can also generate a general Internal Server Error.
Provided your hoster allows it, you can increase the PHP memory limit for WordPress by adding the following to your wp-config.php file. This file lies in the root directory of your website.
2. Database connection error
What is a database connection error?
This error occurs when the website cannot access the database. The cause of this error is often in the wp-config.php file, which contains the website’s database information.
How to fix a database link error
Step 1: Ensure the credentials in the wp-config.php file are correct. Go to the origin folder, right-click on the file and choose “View/Edit.” Compare the username, password, hostname, etc., with the information in phpMyAdmin and update it if required.
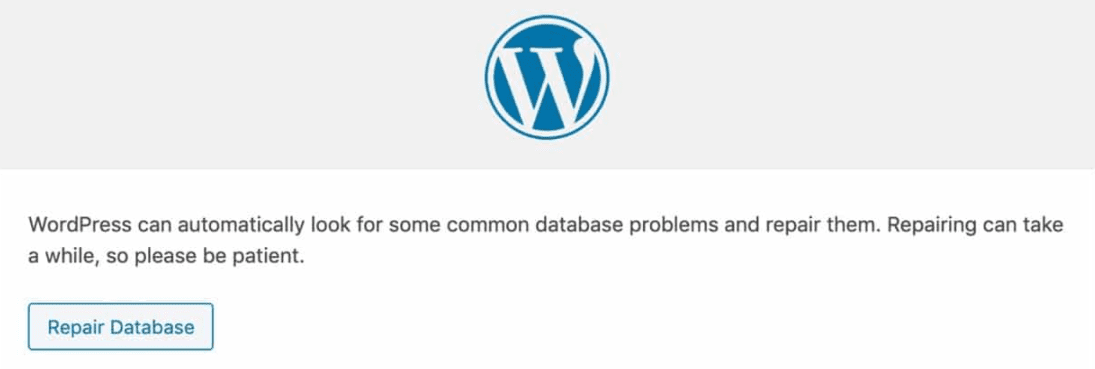
Step 2: If the mistake is still not fixed, you can enable the WordPress automatic database optimization tool. Include this, add the following line to the wp-config.php file: and after that, go to https://yourwebsiteurl.com/wp-admin/maint/repair.php.
Click the “Repair Database” or “Repair and Optimize Database” button. Then remove the included line of code from your wp-config.php file.
Step 3: If the issue persists, contact your web hosting provider in case of failure or data loss.
3. White screen of death
What is the “White Screen of Death”?
Your website is not loading correctly, and there is no error message to support it. A blank white screen replaces your website. There is nothing to see. It could be either a PHP error or a data source error, but where do you start looking to figure out what’s wrong?
![WordPress White Screen of Death: How To Fix [Solution]](https://www.shoutmeloud.com/wp-content/uploads/2017/12/how-to-fix-wordpress-white-screen-of-death-0.png)
How exactly to Fix a White Screen of Death
Step 1: Disable all your plugins and see if that fixes the problem. Reactivate the plugins to see which one is causing the problem. If this doesn’t fix the problem, proceed to the next step.
Tip: If you can’t access your WordPress dashboard directly, you can enter WordPress recovery mode to change the plugin and theme settings. If you didn’t receive the recovery mode link email, you could add /wp-login.PHP?action=entered_recovery_mode to the end of your site URL to access recovery mode directly.
A user-facing error screen will be displayed when a fatal error occurs, informing the user/visitor that the website is experiencing technical issues. More importantly, when such an error occurs, an email is sent to the administrator’s email address informing about the problem and containing a secret link to a new “Recovery Mode.” When the customer clicks this link, that enters the recovery mode, which works by setting a cookie on the current client.
Step 2: A newly installed theme might cause the issue. Disable your theme to see if this holds. Once again, if you can’t access your WordPress dashboard via the default paths /wp-admin/ or /wp-login.php, the recovery mode link will help.
Step 3: Utilize the WordPress debug mode feature to identify the problem. It is an advanced troubleshooting technique that gives you a code-level view of the exact error that WordPress is experiencing. If you are at this point and don’t feel like editing files on your server, contact WordPress experts.
You can allow debugging mode on your site by adding the following line to your wp-config.php file.
4. 404 error
What is a 404 error?
A 404 error appears when you visit a single post or page and states that the page cannot be found. However, you can still visit other areas of the site. Broken links are usually the cause, and WordPress users usually experience this when using custom permalinks (i.e., SEO and user-friendly URLs).
Here’s how to fix a 404 error
Step 1: Update your permalinks settings. To do this, go to “Settings,” choose “Permalinks,” and click the “Save Changes” button. That will update the rewrite rules on the server. You are not allowed to change your permalink settings. Just save the options as they are.Step 2: Manually update the .htaccess file with the default rewrite rules mentioned earlier in this article. If updating permalinks via the WordPress dashboard doesn’t work, you can restore the default rules directly at the .htaccess file level.
Step 3: If it is an isolated issue with 1 or 2 pages, check if the content exists at the URL. If it doesn’t, you can avoid a 404 page by redirecting the wrong URL to another page or publishing a post on the site using a redirection plugin like Redirection.
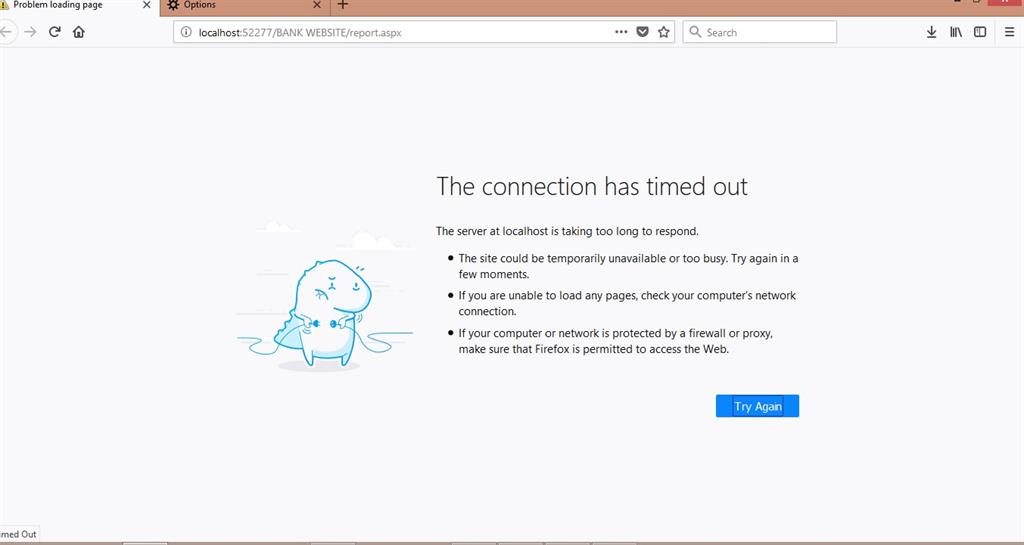
5. Connection timeout
What does it mean when a connection is timed out?
This error often occurs when the website has been trying to load for some time without success. After a while, the server quits trying. That could indicate that your website does not have the required resources available or that your website is trying to perform more actions than your server can handle.
To fix a connection that keeps dropping out
Step 1: Disable all your plugins and see if that fixes the problem. Reactivate the plugins to see which one is consuming the most resources. Query Monitor is a free plugin that tells you which plugins or theme files consume the most resources. If you can disable all your plugins and get the admin panel to load, install Query Monitor and then activate one plugin at a time while watching Query Monitor’s reports. If activating a plugin drives up resource usage, you’ll know which plugin might be hogging your server resources.
Step 2: Change to a default WordPress theme. Heavy code in your theme can consume too many server sources. If you change to a default theme, all your plugins are inactive, and the problem persists, move on to Step 3.
Step 3: In the age of CDNs, firewall programs, and caching layers, it’s essential to understand which layer in the stack is running out of time. For example, if you’re using a service like Cloudflare, your web host may be online, but an outage at Cloudflare is causing the timeouts or vice versa. Cloudflare has some tremendous visual indicators of when you’re trying to visit a site with timeouts. Your “origin” is usually your web host.
If you’re having issues with connection timeouts, disabling all plugins and reverting to a default theme doesn’t solve the problem.
6. Images can not be uploaded
Why can’t you upload images?
If you are unsuccessfully trying to upload images, in most cases, it is due to insufficient disk space – that is, you are trying to upload files to a server that is already full.

Here’s how to fix an image upload problem
Step 1: WordPress has a fantastic built-in feature to see how much disk space you’re using. You can find this feature by clicking Tools -> Site Health and then clicking the Info tab.
Compare the size of your uploads directory to the storage space you have available with your hoster. If you require more storage area than your hosting plan allows, you will require to upgrade your account or remove files from your server.
Step 2: In the Site Health section of WordPress, you will find a feature to rule out file permissions issues as a possible cause.
Suppose you are still having problems uploading images. In that case, you may require to contact your hoster or manually reset the file and directory permissions and the file and directory permissions for the server. As long as the upload directory is “writable” and has enough disk space, uploading images should work fine.
The problem is likely caused by incorrect file permissions being applied. You may see a message like, “Unable to create directory wp-content/uploads/. Is the parent directory site writable by the server?” Fortunately, this issue is relatively simple to fix.
However, changing file and directory permissions on your server can cause significant problems. Therefore, proceed to step 3 only if you are familiar with file management on internet servers.
Step 3: You can reset data permissions by accessing your site with a file transfer program like Filezilla or Transmit (our favorite) and using the WordPress recommended permissions structure. Go to the /wp-content/ folder and locate the uploads folder.
Now right, click on this folder and select “File permissions.” Change the numeric value to 755, right-click this folder and select “File Permissions” again. Change the value to 644, check “Recurse to subdirectories,” and select “Apply to files only.” Click “OK” to apply.
You should now be able to upload image files. If you still have problems, contact your hoster for help.
Note: Since this is a relatively common problem, many managed hosts provide the choice to execute this activity with a button in the WordPress or hosting control panel.
7. Stuck in Maintenance Mode

Why is your website in maintenance mode?
WordPress immediately creates a .maintenance file that temporarily disables your website during routine updates. When this update is interrupted, WordPress may not remove the .maintenance file. As a result, you will repeatedly see an error message stating that your site is briefly unavailable for scheduled maintenance. You can fix this by simply removing the maintenance file as follows.
To troubleshoot a website that is stuck in maintenance mode
Step 1: Utilize your file transfer program to log in to your website.
Step 2: Navigate to the root directory of your website and locate the .maintenance file.
Step 3: Delete the .maintenance file. Your website should now be working normally again.
Note that you may need to re-run the last update performed when the website was stuck in maintenance mode, as this error usually means that the update was unsuccessful.
We are right here to make your life less complicated
For now, this brings us to the end of our list of the most common WordPress errors. The online world is constantly changing, and things can change overnight, so this list is constantly expanding. We’ll be adding to this troubleshooting list from time to time, so keep checking back. And more significantly, let us know about your common bugs at a fixed hacked site. Is it taking up too much of your time to ensure your website functions optimally? Instead, focus on what you do best – running your business – and let our team of WordPress experts take care of your WordPress errors.